
This article shows the steps how to remove the exhaust manifold and reinstall the exhaust manifold.


|
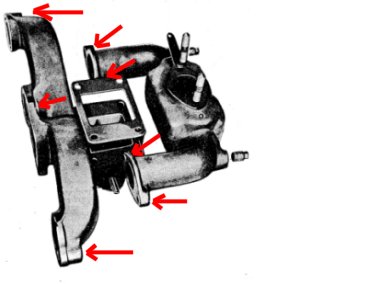
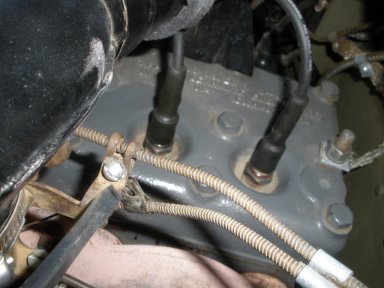
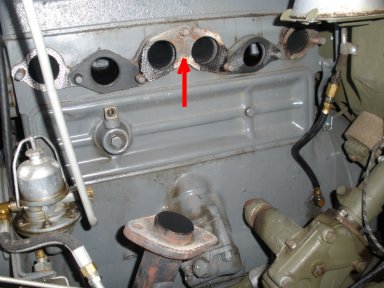
1. Removing the Exhaust takes a number of steps because there are many other linkage disconnects that need to happen as well. Note here the seven primary nuts that need to be removed from the intake/exhaust manifolds |
|
2. Locate each of the nuts on the intake/exhaust manifolds, and remove the bolts. |
|
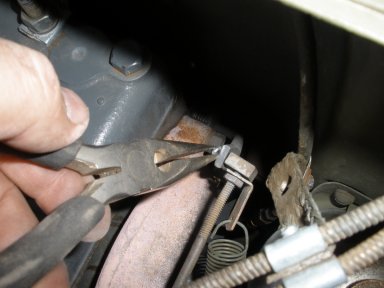
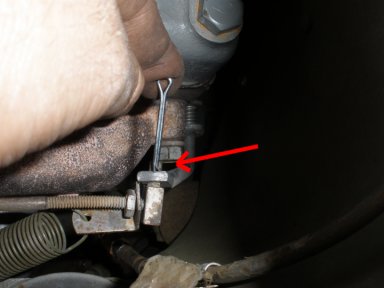
3. Remove the cotter pin from the gas pedal armature. Note: it is a good habit to replace cotter pins after removing them. |
|
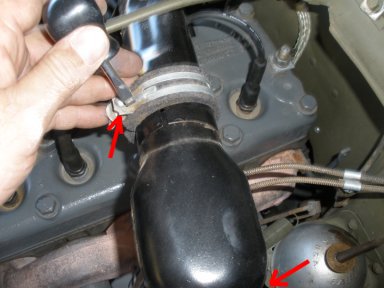
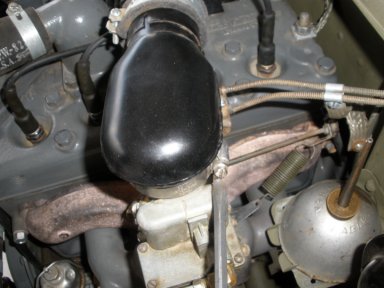
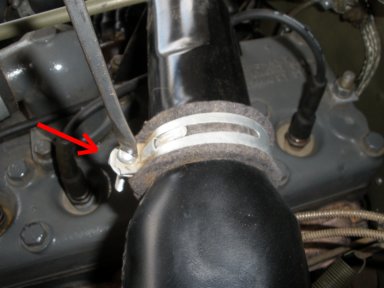
4. Next, loosen the clamp on the air horn seal. Move it down the tub once loosened. In addition, loosen the air horn clamp and remove the air horn from the top of the carbureator. |
|
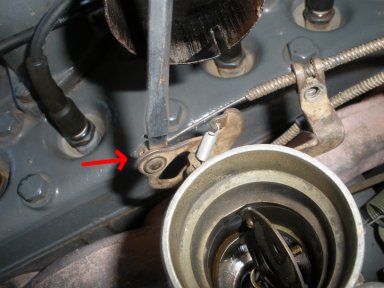
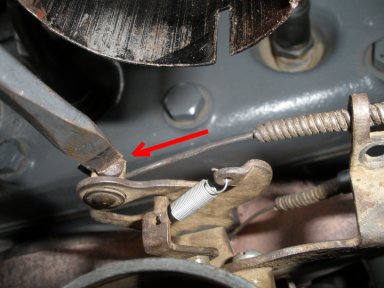
5. Remove the linkage for the Choke and throttle cables. You might need to pry the holder a bit to let the choke cable free. |
|
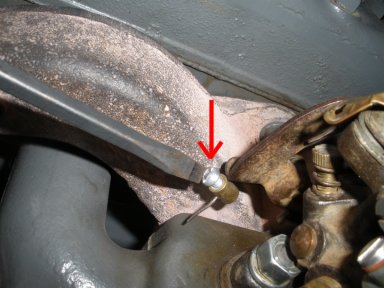
6. Loosen the throttle screw. |
|
7. The throttle cable will slip out of the screw holder. |
|
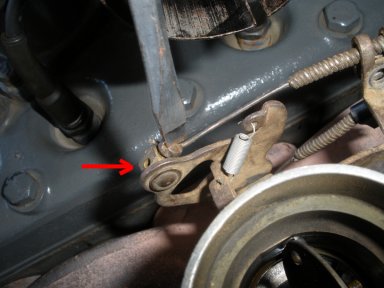
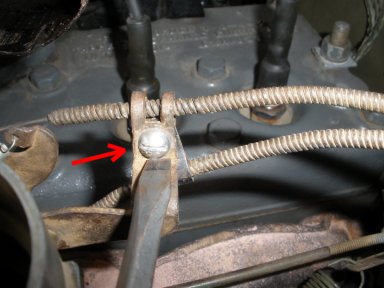
8. Loosen the choke screw and slip the pin out so the cable is free. |
|
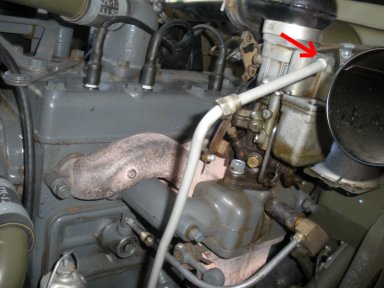
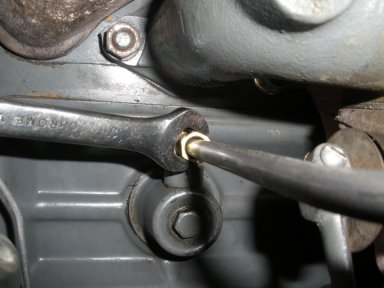
9. Remove the Fuel line from the carburetor |

|
10. For Later Models If your jeep has a PVC valve connection, loosen this connection all the way before we pull the manifold off. |
|
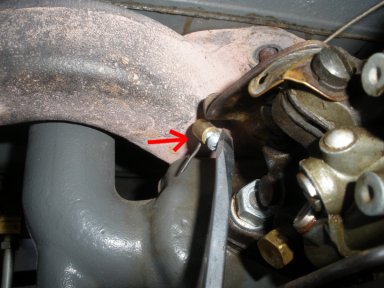
11. Disconnect the Exhaust flex pipe from the manifold. Note: watch for the gasket. |
|
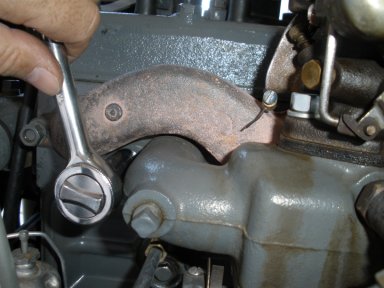
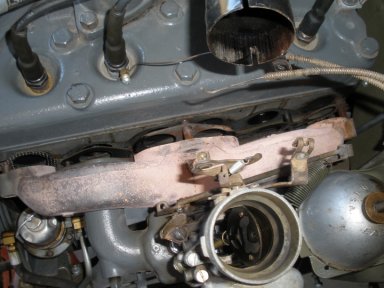
12. At this point, tug on the manifold a bit and it should seperate from the block. It is heavy so it might take a decent tug. Try not to strip the bolts on the block on the way out. |
|
13. Use both hands to lift the manifold off. Here you see one hand, because the other is taking the picture. but you want to lift it off with both hands. |
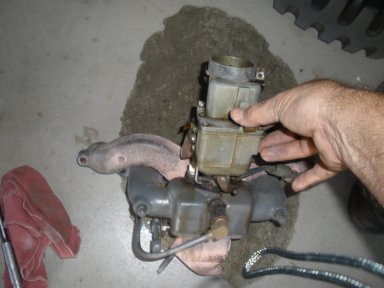
|
14. Note: the carburetor is most like still filled with fuel, so if your not careful you will spill the fuel all over the place. This is an example of what not to do :( |
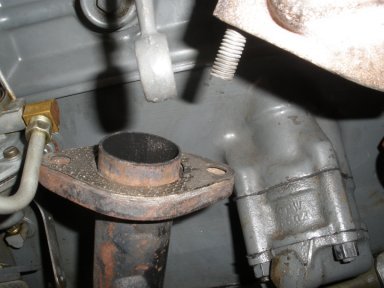
|
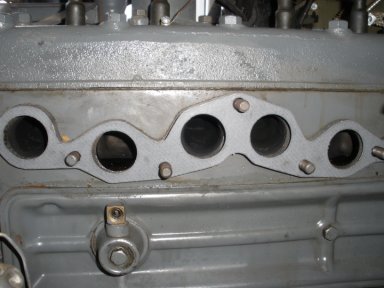
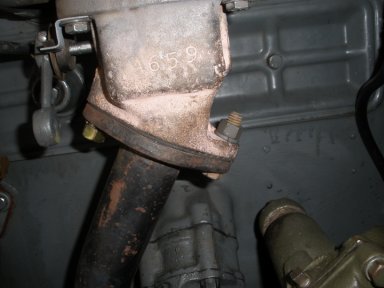
15. Lastly, you should see the existing manifold gasket. You should probably replace yours if it has been used quite a bit. |
|
16. * INSTALLATION * |

|
17. Now, with two hands hoist the manifold into position, |
|
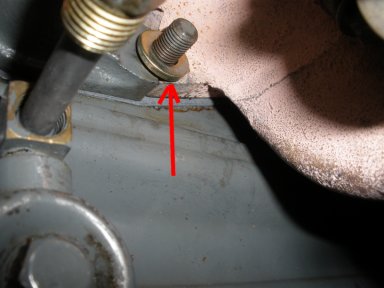
18. Just a note, be sure you have the correct washer on the two piece connections under the manifold (where intake and exhaust come together).Tighten all the nuts on to the manifold, all seven! |
|
19. Later Models Tighten in the PVC line if applicable to your model. |
|
20. Add a new exhaust gasket to the exhaust flex pipe and tighten the bolts into the bottom of the manifold. |
|
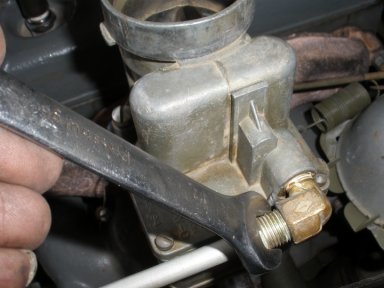
21. Next, line up the fuel line to the carburetor and tighten the connection. |
|
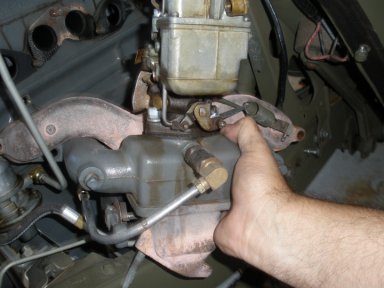
22. Install a new cotter pin to the gas pedal linkage. Insert and seperate the ends of the new cotter pin with needle nose pliers if needed. |
|
23. Install the throttle line back into the insert and tighten the screw down. |
|
24. Install the choke pin at bottom of linkage. Insert the choke line through the pin and tighten the screw. |
|
25. Install the choke and throttle line holder connection. Note: you may have bent this out a little when removing, you should crimp it back a bit to hold the throttle cable (top) firmly. |
|
26. Now install the air horn back on top of the carburetor. Fit the horn into the air tub and clamp the base of the air horn to the top of the carburetor. |
|
27. Finally, pull your seal back from the air horn back over where the two peices meet, and tighten down. You have now reinstalled your manifold! |
