
This Article describes how install your WWII Jeep Tub or Body to your frame. Applies to 1942,42,1943,43,1944,44,1945 Jeeps models


|
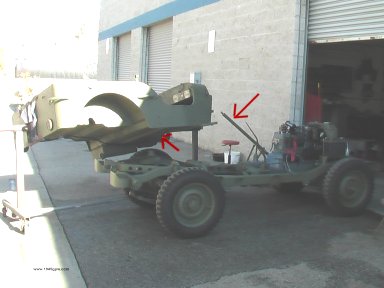
1. With your tub reading to be mounted, lift the tub up over the steering column (if present) through the floor plate. As you are moving the tub down slowly, follow the steering column forward until the tub is resting on the frame. |
|
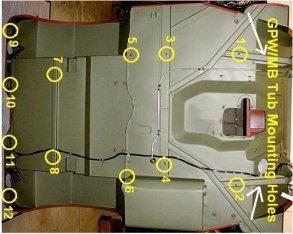
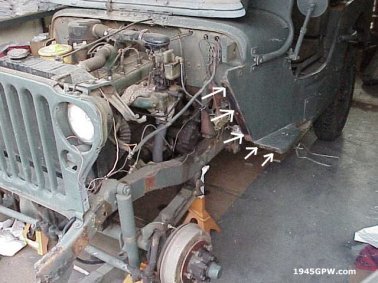
2. Next, install the body bolts to the frame, starting with the front of the frame. Follow the number shown on this picture (shown with permission from Darryl D.). |
|
3. Install the speedometer cable to the transfercase and follow it up through the firewall to speedometer. Here is an article to the speedometer cable install path Click here |
|
4. Install the had brake through the dash and firewall down to the transmission and connect the cable to the transmission linkage. |
|
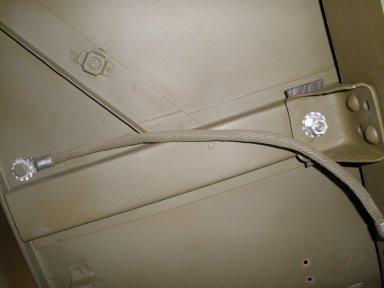
5. Install the ground strap from frame to the tub, and (not shown here), if you have a muffler out the passenger side (before late 44), then install the muffler clamp as well. |
|
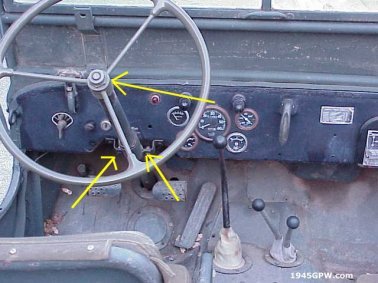
6. Install the steering column support, and steering wheel and nut. |
|
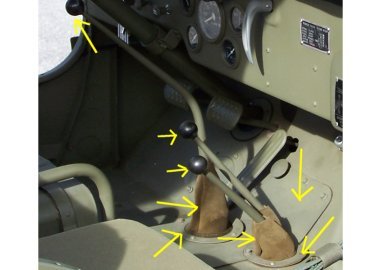
7. Install the brake and clutch pedals through tub floor the the armature, and secure. If you have the brake and clutch pads install them as well. |
|
8. Install the gear knobs and plates onto the floor of the tub. Note: be sure you have the rubber seals for the floor plates |
|
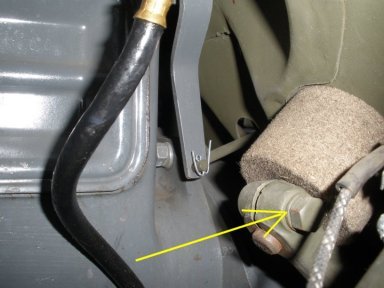
9. Install the oil line back into the engine block, and connect to the back of the oil gauge in the dash |
|
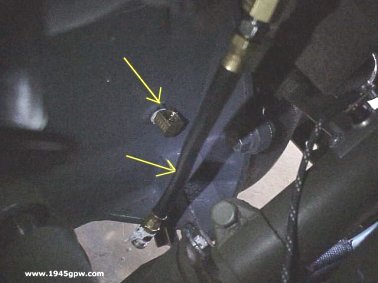
10. Install the foot starter cable to starter. It is now difficult to get to because tub is on, but you can reach it. |

|
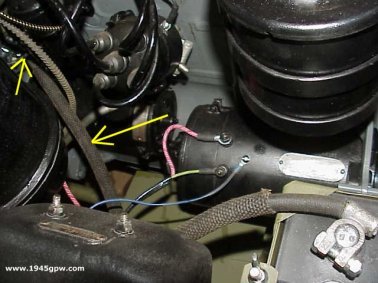
11. Install your main wire harness to your junction on the tub. NOTE: Earlier models you may have a 2 junction block behind the air cleaner. If so, refer to your electrical diagram to connect it Click here |
|
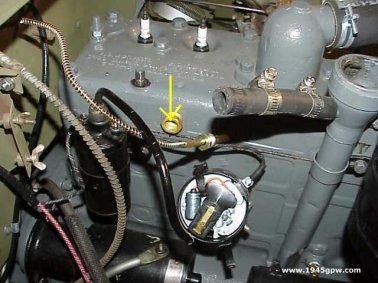
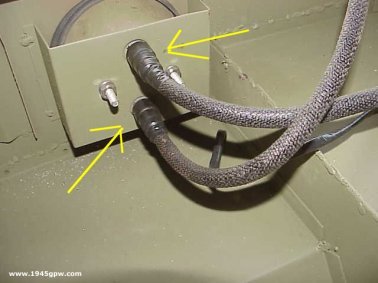
12. Install your temperature gauge line to engine block, and install the temp gauge in the dash. |
|
13. Install the foot pedal linkage cotter pin. With the horn still removed you can reach this but is a little tight. |

|
14. Install the choke and throttle cable on the carburetor. Push the cables through the dash, then firewall and out to the carbureator. |
|
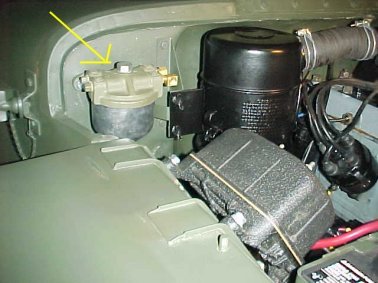
15. Early models with fuel strainer Install the fuel strainer to the the firewall of tub and connect the fuel lines to it. |
|
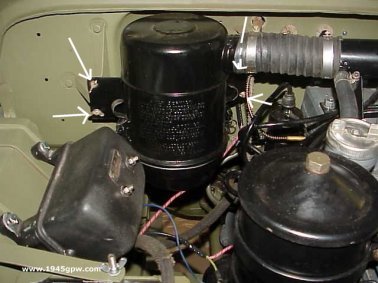
16. Install the air filter four wing nuts and connect the air tube hose to the air filter. |

|
17. Install the horn wiring and mount the horn. |
|
18. Install the hood to the five bolts on the tub, and the radiator stabilizer rod (in red) to the radiator. |
|
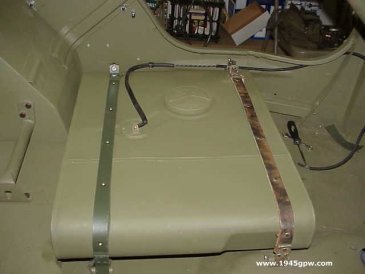
19. Install the fuel tank into the tub and run the fuel tank lines to the appropriate locations. Follow this Article to show the details of installing your fuel tank. |
|
20. Install the front fenders to the tub and frame. |
|
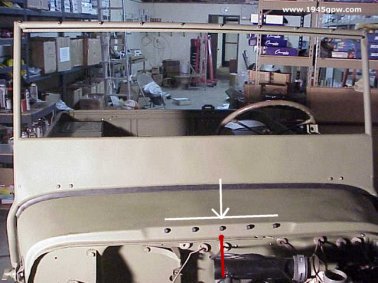
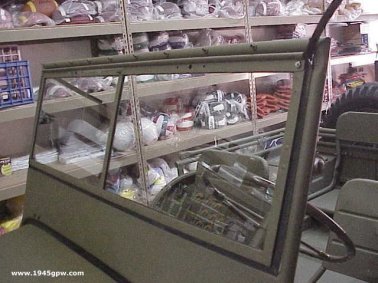
21. Install the Windshieild to tub. |
|
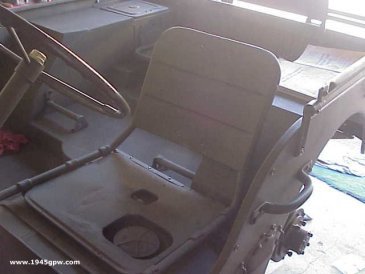
22. Install your seats and tool box covers (if removed) |
|
23. Install the wiring for the tail lights from the main harness (if not already), and finish up the wiring, battery, blackout lights, mirror, etc. At this point, you are pretty much done. |
